
Python 3.4, Pyramid 1.5 et mod_wsgi sur Alwaysdata
Voulant utiliser Pyramid 1.5 sur un serveur Alwaysdata avec Python 3.4 n’est pas chose aisée :
- la version de Python 3 minimum pour Pyramid est la 3.2 et celle installée sur les serveurs est 3.1
- Si vous sélectionnez WSGI dans les sites, le mod_wsgi par défaut est compilé pour Python 2.6 et ne fonctionnera donc pas pour Pyramid. Snif.
Voici comment faire pour réussir à tout installer et faire fonctionner du premier coup.
Étape 1 : Compiler et installer Python 3.4
Commençons par créer les dossiers dont nous aurons besoin pour notre futur Python:
~$ mkdir python/src
~$ mkdir python/python34
Télécharger et extraire Python 3.4.1 :
~$ cd python/src
~/python/src$ wget https://www.python.org/ftp/python/3.4.1/Python-3.4.1.tgz
~/python/src$ tar xvzf Python-3.4.1.tgz
~/python/src$ cd Python-3.4.1
Il va ensuite falloir compiler et installer Python 3.4. Attention, ici les options de ./configure sont toutes très importantes: –enable-shared pour la future compilation de mod_wsgi et LDFLAGS avec le bon -rpath pour que Python3 fonctionne (cf source #2 en fin d’article) :
~/python/src/Python-3.4.1$ ./configure --prefix="/home/achedeuzot/python/python34" --enable-shared LDFLAGS="-Wl,-rpath /home/achedeuzot/python/python34/lib"
~/python/src/Python-3.4.1$ make
~/python/src/Python-3.4.1$ make install
N’oublions pas d’ajouter ce nouveau python à notre PATH de shell via son fichier de configuration (.zshrc, .bash_profile, …):
# Custom Python 3 Build - syntaxe zsh
export PATH="$HOME/python/python34/bin:$PATH"
Puis de faire prendre ce changement en compte par le shell:
~$ source ~/.zshrc
~$ which python3 #pour vérifier
~/python/python34/bin/python3
Étape 2 : Compiler et installer mod_wsgi
Créons de nouveau les dossiers dont nous aurons besoin:
~$ mkdir ~/python/mod_wsgi_py34/src
~$ cd ~/python/mod_wsgi_py34/src
Télecharger et extraire mod_wsgi:
~/python/mod_wsgi_py34/src$ wget https://github.com/GrahamDumpleton/mod_wsgi/archive/4.2.6.tar.gz
~/python/mod_wsgi_py34/src$ tar xvzf 4.2.6.tar.gz
~/python/mod_wsgi_py34/src$ cd mod_wsgi-4.2.6
Enfin, pour que mod_wsgi trouve notre librarie Python, nous devons rajouter la variable d’environnement LD_RUN_PATH avant la compilation:
~/python/mod_wsgi_py34/src/mod_wsgi-4.2.6$ export LD_RUN_PATH=/home/achedeuzot/python/python34/lib
~/python/mod_wsgi_py34/src/mod_wsgi-4.2.6$ ./configure --with-python="/home/achedeuzot/python/python34/bin/python3.4"
~/python/mod_wsgi_py34/src/mod_wsgi-4.2.6$ ./make
Ceci va créer le fichier mod_wsgi.so dans un dossier caché .libs (il faut le trouver !):
~$ find . -name "mod_wsgi.so"
./python/mod_wsgi_py34/src/mod_wsgi-4.2.6/src/server/.libs/mod_wsgi.so
Ce fichier va être utilisé par Apache. Mais pour éviter d’avoir un chemin aussi long, nous allons copier ce fichier un peu plus haut dans l’arborescence:
~$ cp ~/python/mod_wsgi_py34/src/mod_wsgi-4.2.6/src/server/.libs/mod_wsgi.so ~/python/mod_wsgi_py34/
Ensuite, il faut dire à Apache d’utiliser notre module. Il faut pour cela se rendre dans l’interface d’administration de Alwaysdata, dans la section Sites et choisir « Apache personnalisé » et enfin, entrer les informations suivantes:
# Directives globales:
LoadModule wsgi_module /home/achedeuzot/python/mod_wsgi_py34/mod_wsgi.so
WSGISocketPrefix run/wsgi
WSGIDaemonProcess <un-id-unique>
Étape 3 : Installer Pyramid 1.5 et faire tourner le tout !
Commençons par préparer l’environnement pour notre projet Pyramid:
~$ mkdir ~/mysite
~$ cd ~/mysite
~/mysite$ pyvenv venv
~/mysite$ cd venv
Avant de continuer, il est important d’activer notre environnement virtuel:
~/mysite/venv$ source bin/activate
(venv)~/mysite/venv$ pip install pyramid
Générons ensuite un scaffold et installons notre projet:
(venv)~/mysite/venv/$ pcreate -s starter siteproject
(venv)~/mysite/venv/$ python setup.py develop
Bientôt fini, faisons notre app.wsgi :
#!/home/achedeuzot/mysite/venv/bin/python
import os
import sys

pyramid_path = '/home/achedeuzot/mysite/venv/lib/python3.4/site-packages'
project_path = os.path.dirname(os.path.abspath(__file__))

sys.path.append(pyramid_path)
sys.path.append(project_path)

from pyramid.paster import get_app, setup_logging
# required for imports and path to packages
ini_path = '/home/achedeuzot/mysite/venv/siteproject/production.ini'
setup_logging(ini_path)
application = get_app(ini_path, 'main')
Et enfin, faisons pointer notre VirtualHost Apache sur ce fichier, via l’interface d’administration AlwaysData, toujours dans la section Sites:
# Directives du virtual host
WSGIScriptAlias / "/home/achedeuzot/mysite/venv/siteproject/app.wsgi"
<Location />
WSGIProcessGroup <un-id-unique>
</Location>
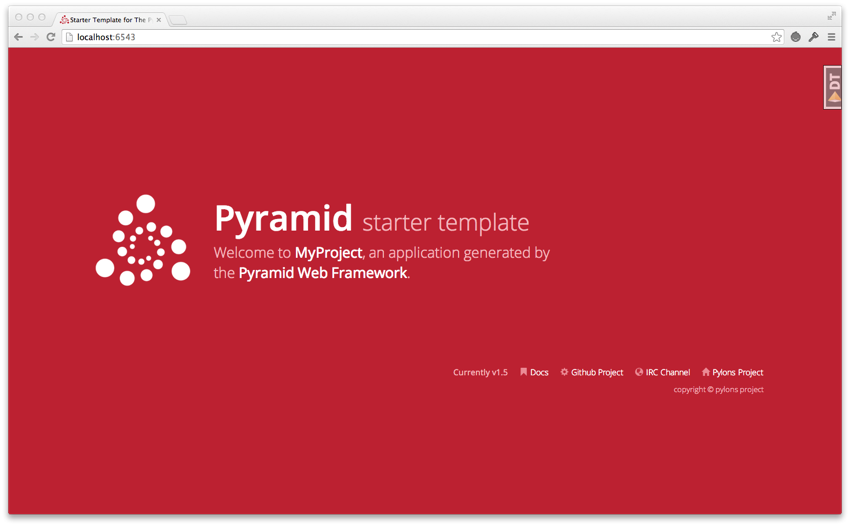
Et voilà ! La page par défaut de pyramid devrait s’afficher:
Cette technique devrait rester valide pour diverses version de Python, Pyramid ou de mod_wsgi. J’espère qu’il vous aura permis de faire fonctionner le framework de votre choix !
Sources et Inspirations:
- http://www.flask-blog.jeremydagorn.com/posts/how_to_deploy_a_flask_application_on_alwaysdata
- http://koansys.com/tech/building-python-with-enable-shared-in-non-standard-location
- http://oldwiki.alwaysdata.com/wiki/D%C3%A9ployer_une_application_Python_3_%2B_bottle.py_avec_mod_wsgi
- https://code.google.com/p/modwsgi/wiki/InstallationIssues
Commentaires
Laisser un commentaire